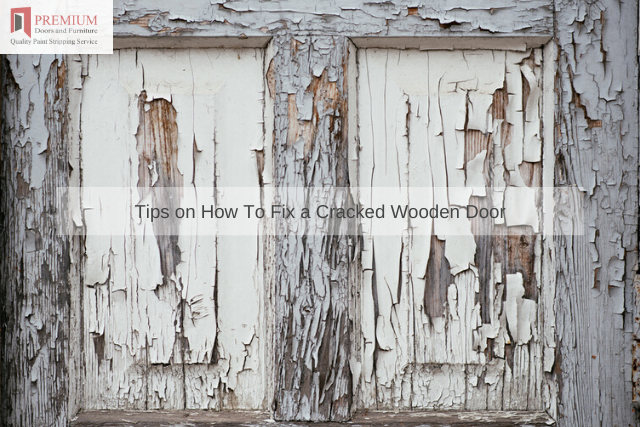
Even the most durable wooden doors can develop cracks over time due to mechanical damage or temperature variations, especially if the door is exposed to external conditions. The good news is that many of these cracks can be repaired, preventing the need for a costly replacement. Here’s a guide on how to restore your wooden door effectively.
Step 1: Assess the Damage
Begin by examining the extent of the crack. Determine its length and width to gauge the severity. Be aware that multiple coats of paint can sometimes conceal cracks. Use a quality paint stripper to reveal the damage if necessary. Check whether the crack has loosened any nearby joints or panels, as these may also need attention.
Step 2: Remove the Door from Its Hinges
Taking the door off its hinges makes the repair process much easier. This also gives you the chance to store the door safely while you work. Consider taking photos of the door before starting the repair to help you rehang it correctly later.
Step 3: Sand the Damaged Area
Use a belt sander to smooth the cracked area and remove any splinters. Sanding prepares the surface for effective filling. Always wear protective gloves and safety glasses during this step, and clear the workspace to avoid damaging nearby items.
Step 4: Fill the Crack
Clean the sanded area with a damp cloth, then apply a suitable wood filler. Choose a flexible filler that can expand and contract with the wood, avoiding silicone-based products since these are hard to paint over. Apply the filler with a putty knife, ensuring the crack is completely filled. Wipe away any excess before it dries. Allow the filler to dry for at least 24 hours.
If the crack still has a depression, use fast-drying wood putty to level the surface. Once dry, sand the area again to ensure a smooth finish.
Step 5: Final Touches
Sand the door again, paying attention to edges and corners for a uniform surface. Propping the door up on spare pieces of wood can make this step easier. Once the surface is smooth, you can proceed to paint or stain the door as desired.
Need Help?
For expert advice or professional paint stripping services, contact us at Premium Door Stripping. We specialise in restoring wooden doors, ensuring their beauty and integrity are preserved for years to come.


