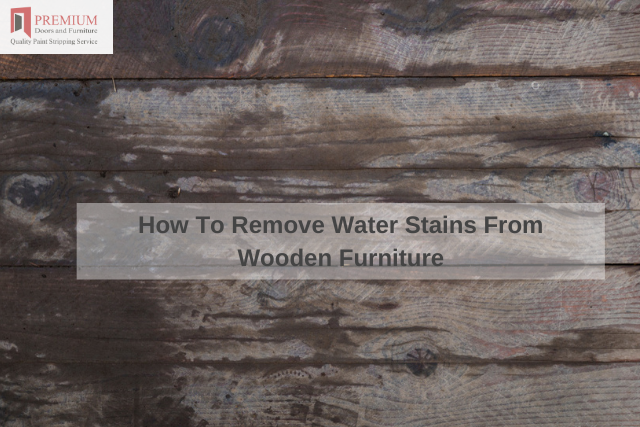
How To Remove Water Stains From Wooden Furniture

Thinking of how to replace your coffee table as a result of water stains isn’t advisable. This post will enlighten you on the expert tips to help you remove the water rings with daily household products.How To Remove Water Stains From Wooden Furniture
Here is how;

Spread Some Mayonnaise

Are you surprised that mayonnaise is of help in such a situation? You probably have plenty of it in your fridge. Dab mayonnaise onto the stain using a paper towel. Allow it to sit either overnight or for a few hours. The paper towel should remain on top all this time. The following morning, using a clean cloth, wipe away the mayo. Finalize this by polishing it with vinegar.

Combine Olive Oil and Vinegar

Using a small bowl, mix equal proportions of olive oil and vinegar. Using a piece of cloth, apply the mixture to the stain. Continue wiping towards the wood grain until you are sure that the stain is erased. The olive oil, in this case, is furniture polish, while vinegar will clear the stain. You can use the sum up by wiping the area clean. Ensure you are using a dry, clean cloth.

Use an Iron

Lay a clean cloth on the water stain. Preferably, a cotton cloth without prints. This is advisable to avoid the transfer of any patterns. Ensure the iron is preheated to a low temperature. Set the iron on the cloth briefly over the water stain. In case the stain is not wiped out at the first attempt, repeat the same process until the stain is cleared. It is important to note that this method is ideal for damp stains.

Plug in A Hairdryer

The method requires you to plug in the dryer and ensure it is turned to its highest setting. Ensure the hairdryer is focused on the stain. In this position, maintain your grip until the stain disappears. Unplug the dryer and polish your table using furniture oil. Cleaning wood after paint stripping is highly recommended to maintain its quality. Olive oil can also be of help in this case. The method is suitable for freshwater stains.

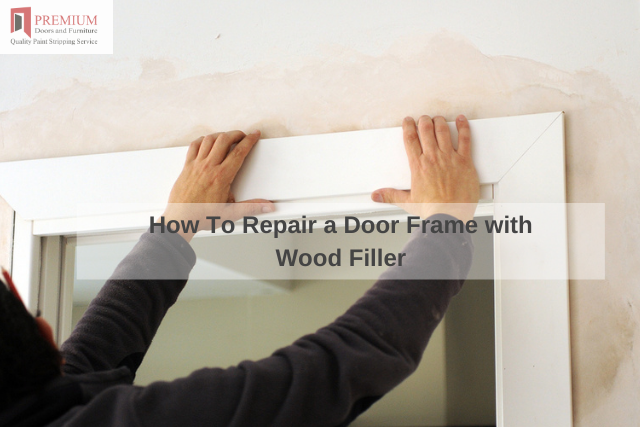
How To Repair a Door Frame with Wood Filler

Dents, holes, and cracks in door frames affect the look of the frame. Also, they can harbor insects and moisture, which is something you may not want to experience.How To Repair a Door Frame with Wood Filler

The bigger issue, however, is serious damages to the wood, such as extensive rot. When the damage is too visible, you may need the services of professionals like Premium Door Stripping. Depending on the magnitude of the damages, you can not easily patch over the areas.

However, cosmetic imperfections are easy to deal with. There are several wood fillers that you can use to sort the mess. Most important is using epoxy for significant repairs.

Also, using a filler that matches the stain or the one that fits the colour of your door frame is a plus. Follow these steps;

1. Scrape

Take your time and scrape out any flaking and splinters of paint from the damaged parts using a wire brush. In case of any stubborn scraps or lumps, the corner of a knife blade will help you. Don’t forget to seek the help of Vacuum’s brush attachment to vacuum the frame to remove any remaining dust.

2. Mixing the Filler

It is important to soften or mix the filler as per instructions. It could involve stirring to the point of hardening, kneading until it softens, or mixing different substances until you get a similar colour. Preferably, mix small amounts of stain to a point where the filler and the frame match.

3. Applying

At this point, apply the ready filler on a putty knife. You will then scrape it onto the frame’s damaged area. In case the whole is deep, force filler deeper using the flat side of the blade. This should be followed by scraping the filler smooth using the edge of the blade.

4.Drying

Allow a reasonable time for the filler to dry. If shrinking while drying is noticeable, there is no harm in applying a second coat following the aforementioned steps.

You can slightly overfill the depression. This will ensure it remains filled even if there is shrinking again. Wait for it to dry after the second coat.