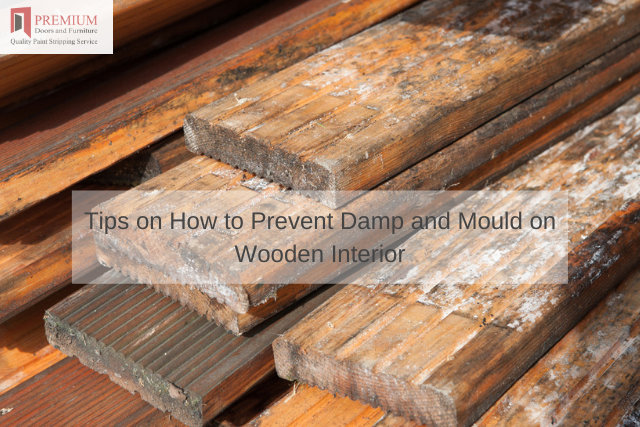
Are you looking for ways to keep your wooden furniture secure? Well, failure to maintain the wooden interior makes them wear off over time.
Mould, grime and dirt may accumulate and become hard to eliminate over the long run.
It would be unbearable to see your valuable wooden interior get destroyed in this manner, wouldn’t it? Now, how do you prevent damp and mould on your furniture? Keep on reading to find out!
Ensure Everything is Clean
Ensure the closets, basements, dresser drawers and any location where mould is likely to grow is as clean as possible.
Dirt particles offer a perfect habitat for mould to start growing provided the temperature and moisture are appropriate.
The greasy films like those on kitchen walls, on the other hand, comes with nutrients that facilitate mildew formation.
Now, to ensure your property is totally free of damp and mould, it is advisable to hire the services of Premium Door Stripping for specialised top-rated stripping and finishing services on various wooden items.
Eliminate Dampness
Since mould spores are readily available in the air, they may settle on your furniture if there is adequate moisture. A damp structure is typically due to moisture that condenses due to humid air that cools on the surfaces.
Most basements are always wet from the water that leaks via wall crevices. In this case, ensure the outside drainage is working appropriately. Should you require to perform some repairs on the walls, please use the right Paint Removal Tools, and then apply a coat of cement to prevent water leakage.
Improve the House’s Air Flow
As the room temperature drops, little moisture will remain in the room. Keep in mind that without a perfect airflow in your house, the excess moisture may stick onto the floors, windows and walls.
Therefore, you can improve the circulation by opening doors between rooms, open doors to the closets and move the furniture away from the walls. Also, allow fresh air to get into the room to prevent mould formation and lower moisture.
Prevent Overstuffing
Lastly, avoid overstuffing the kitchen cupboards and wardrobes. An overstuffed cabinet offers a perfect mould breeding ground as it lowers free air circulation.


