Modern doors are designed to withstand the elements, to conserve energy and to provide a unique aesthetic appeal to your property. However, their periphery can often allow cold air to enter and warm air to escape.
 This is why a principle known as weather sealing (sometimes referred to as weatherstripping) is crucial.
What is the proper way to install these seals so that you can remain warm and comfortable during the colder months of the year?
Removing the Old Material
If the door has not been modified in the past, the chances are high that existing weatherstripping is present. This should be removed with the help of a handheld razor blade.
Any tacks (known as brad nails) must also be pulled out with a pair of pliers. Once the old stripping has been removed, wipe the area with a damp cloth to clean off any residue.
Installing the New Weatherstripping
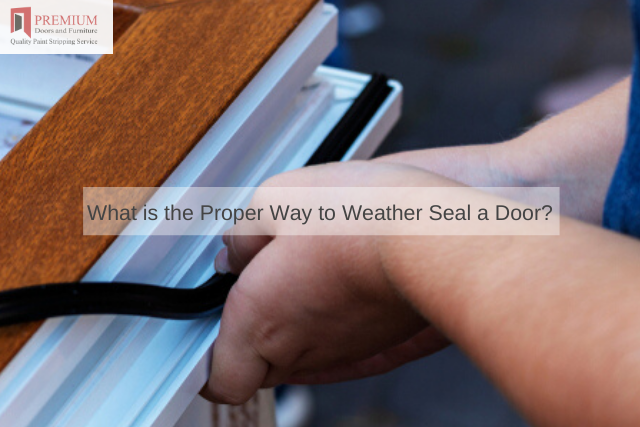
Beginning at the base of the door frame, begin pressing in the weatherstripping. When you arrive at the top corner, cut off any excess and continue the process around the horizontal section and down the other side.
It is important to note that the majority of weatherstripping designs are meant to fit snugly in the cracks, so be sure to push the strips in until they are flush with the surface.
You may also wish to install a door shoe (a protective piece of stripping that prevents cold air from entering along the base). In this case, you may have to remove the door so that the apparatus can be correctly fitted.
However, this will depend upon the amount of clearance between the door and the floor.
To obtain even more advice or if you wish to restore an old door to its former glory, please contact Premium Door Stripping in order to speak with a technician.


