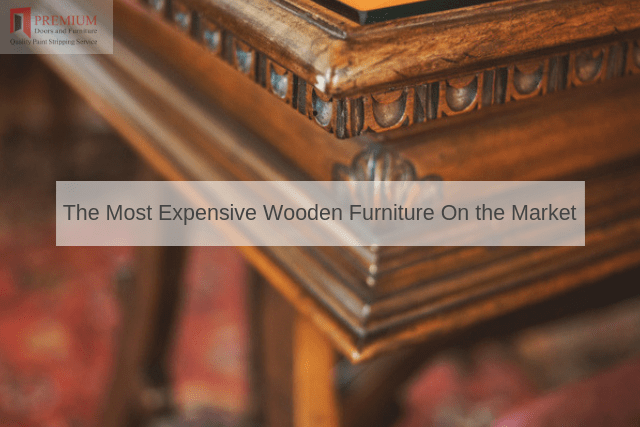
When it comes to expensive furniture, not all designs are created equally. There are certain materials which are extremely expensive and to appreciate their presence on the market, let us take a look at some of the most costly (and elegant) examples that are currently available.
Purple Heart Wood
As the name suggests, one of the reasons why this wood is so expensive arises from its natural purple hue. Purple Heart Wood grows in the rainforests of Central and South America. It is also difficult to source; growing in hard-to-access regions such as the Amazon. This wood is also notoriously hard; leading to increased labour costs during production.
Sandalwood
While sandalwood is rather common, it is highly valued due to its natural aroma as well as certain medicinal benefits. It is said that the scent of sandalwood can last for decades if treated properly. Thus, is makes sense that this type of furniture is priced quite high.
African Blackwood for Musical Instruments
One of the most interesting facts associated with this type of wood is that it is used to make a variety of musical instruments such as the oboe and the clarinet. Its near-black colour also adds to a unique aesthetic appeal. African Blackwood is rather scarce and when used to make furniture, it can be quite expensive.
Ebony Wood
Believe it or not, ebony wood can cost as much as £9,000 per kilogram. It exhibits a pure black colour and due to its density, ebony wood is one of the only woods that will sink when placed in water. It exhibits a very rich grain and due to a superior sense of durability, this wood is often used to make the black pieces found on a chessboard. While not entirely rare, the supplies are limited.
Pink Ivorywood from Tropical Forests
Found within specific regions of Africa, pink ivory wood is a rare and exotic species known for its unique shades ranging from delicate pink to deep purple. It offers exceptional durability and rot resistance, making it ideal for high-end furniture, jewellery, billiard cues, canes, knife handles, and other luxury goods.
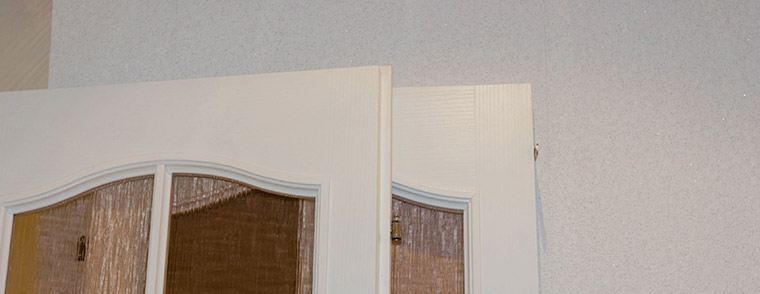
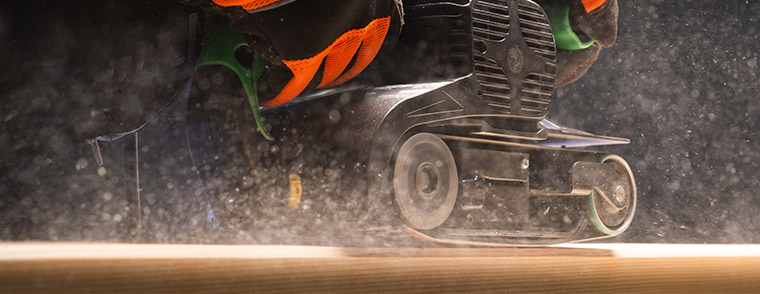
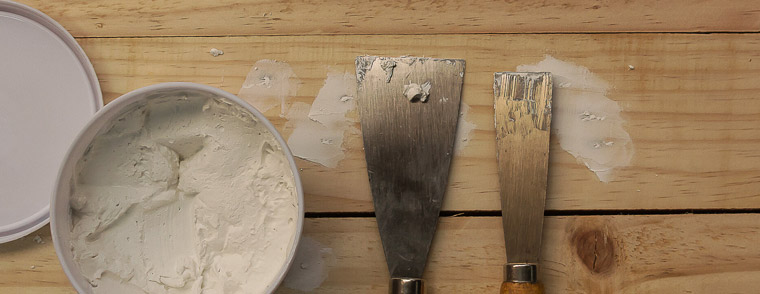
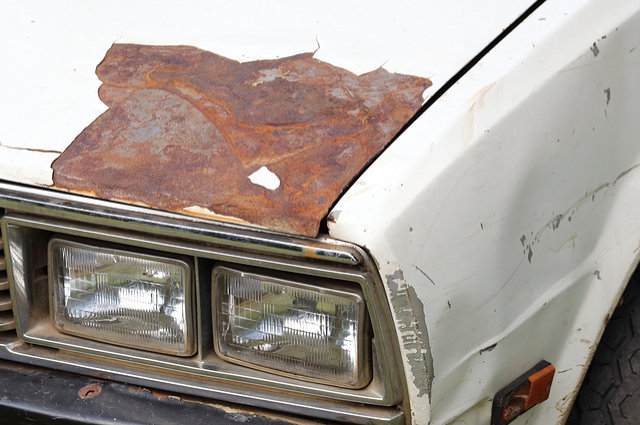
While you are not likely to encounter any of these species within your home, it is still a wise idea to expose the natural wood associated with doors and windows to increase their organic appeal. If you would like to know what might exist underneath countless layers of paint, please utilise our door stripping services. You might be surprised to learn what is present!