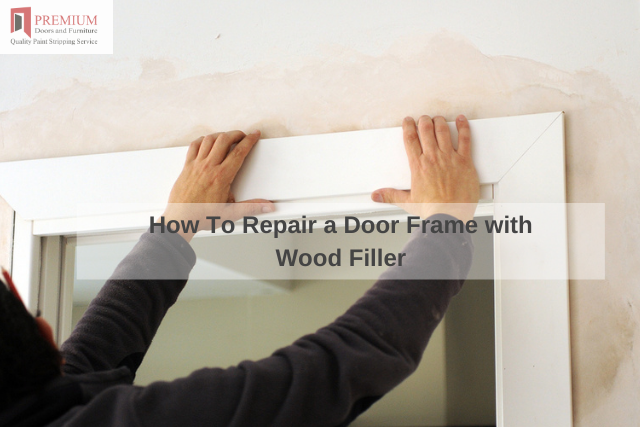
Dents, holes, and cracks in door frames affect the look of the frame. Also, they can harbor insects and moisture, which is something you may not want to experience.
The bigger issue, however, is serious damages to the wood, such as extensive rot. When the damage is too visible, you may need the services of professionals like Premium Door Stripping. Depending on the magnitude of the damages, you can not easily patch over the areas.
However, cosmetic imperfections are easy to deal with. There are several wood fillers that you can use to sort the mess. Most important is using epoxy for significant repairs.
Also, using a filler that matches the stain or the one that fits the colour of your door frame is a plus. Follow these steps;
1. Scrape
Take your time and scrape out any flaking and splinters of paint from the damaged parts using a wire brush. In case of any stubborn scraps or lumps, the corner of a knife blade will help you. Don’t forget to seek the help of Vacuum’s brush attachment to vacuum the frame to remove any remaining dust.
2. Mixing the Filler
It is important to soften or mix the filler as per instructions. It could involve stirring to the point of hardening, kneading until it softens, or mixing different substances until you get a similar colour. Preferably, mix small amounts of stain to a point where the filler and the frame match.
3. Applying
At this point, apply the ready filler on a putty knife. You will then scrape it onto the frame’s damaged area. In case the whole is deep, force filler deeper using the flat side of the blade. This should be followed by scraping the filler smooth using the edge of the blade.
4.Drying
Allow a reasonable time for the filler to dry. If shrinking while drying is noticeable, there is no harm in applying a second coat following the aforementioned steps.
You can slightly overfill the depression. This will ensure it remains filled even if there is shrinking again. Wait for it to dry after the second coat.


