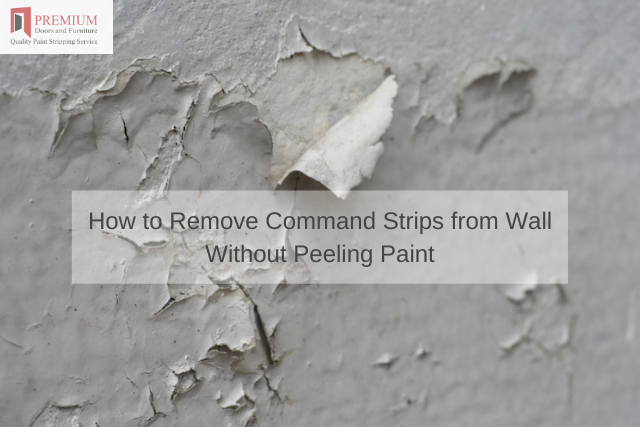
Command strips can be beneficial during wall decoration as they enable you to hang pictures and other objects without harming your wall. However, if not removed carefully, the can result in peeled paint, sticky patches with leftover residue and in some cases, cracks in the wall.
At Premium Door Stripping we offer professional command strip removal services for you. The following are some of the ways you can remove command strips from your wall without peeling off the paint.
Stretching
Command strips function the way they do because of the level of cohesive and adhesive forces.
Some use the two-piece hook and loop system where one side holds to the wall and the other onto the hanging object.
To remove these command strips, you must first remove the hanging object to expose the command strip’s adhesive segment.
To do this, hold the lower part of the object and remove it from the strip in an ascending manner.
Once the adhesive part is exposed, hold the exposed section and gently stretch it in a similar path as the strip.
Heating
You can also use a heat gun to warm up the command strip before scrapping it off the wall. Hold the heat gun a few inches from the command strip while moving it from side to side for about 30 seconds.
Once the command strip turns warm, you can hold on to the pull tap and pull. If it’s pull tap is broken, use dental floss to disintegrate it from the wall.
Slide the dental floss under the strip and, in a back-and-forth movement, saw through the bottom of the strip to disintegrate is from the wall.
Varnish Removal
Another technique is using liquid or gel varnish remover to weaken the command strip adhesive.
First, brush the stripper on the wall to soften the adhesive. Using a paint scraper, scrape off the command strip before the chemical dries off.
It might leave your wall with a small stain that can easily be wiped off using a damp rag. It is advisable to use the manufacturer recommended method to rinse the remover if necessary.


