


Thinking Ahead
Whichever method of paint stripping may have been used to strip your wooden surface it is extremely important to prepare the surface carefully before the application of paint or varnish. It is tempting to rush ahead at this point but a few simple steps now will almost certainly guarantee a superior and longer lasting finish.
Sanding Down
Whether you have had the piece stripped professionally by a company such as Premium Door Stripping or you tried yourself, there are still a few steps to go before you can achieve the proper surface for repainting. Sanding is first on the list and this will help to get rid of the odd blemish and reduce the roughness of the surface. You need to start sanding with a coarse grade of sandpaper working uniformly over the whole surface paying attention to any parts that are particularly rough. Once you are satisfied that you have got the worst of it off go down to a finer grade of sandpaper. Its entirely up to you as to how far you go with this as it all depends on your required final finish.
Once you are happy with the surface after sanding you may need to dust down the piece with an old cloth to remove the dust.
Inspect and Repair
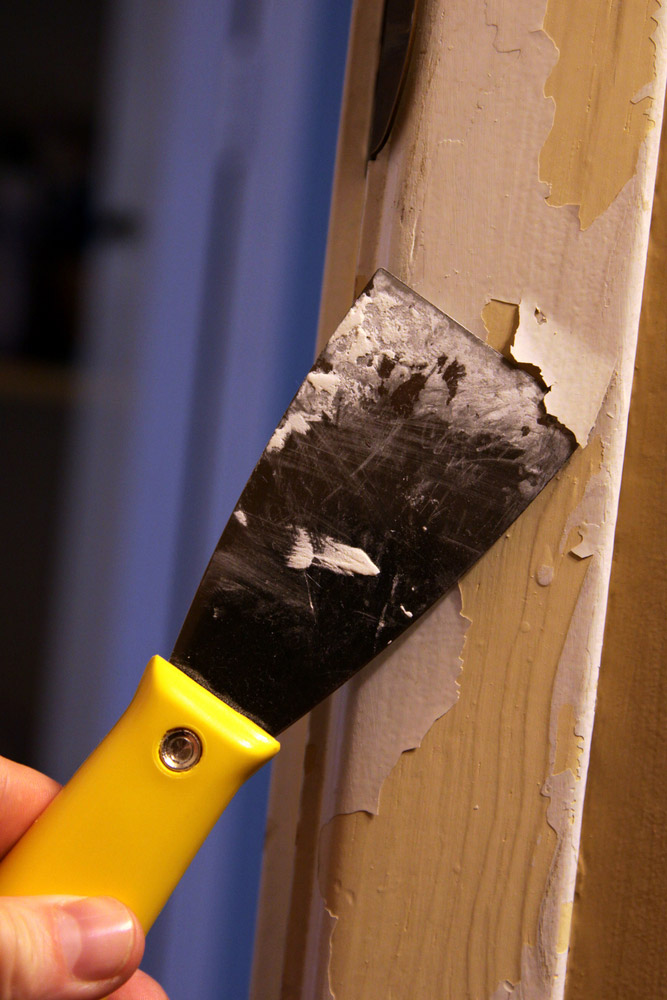
After sanding inspect the whole surface looking for any cracks or dents that may detract from the finish once paint is applied. Any cracks or marks that you find can be easily filled with wood putty then sanded down to a smooth finish once dry. Check the surface again looking for any paint hiding in recesses and remove this too with a small tool or knife. Sand down again with a suitable grade of sandpaper and finally dust everything off carefully. You’re nearly ready to paint but there is a very important last step to take.
Prime It!
You could just go straight ahead and paint directly onto the wood but we really wouldn’t advise it! Wood is an organic, porous material and the oils in the paint will gradually soak into the wood weakening the finish. Primer is designed to adhere to the wooden surface, protecting it and giving it a smoother finish for the paint to adhere to. Apply the primer evenly and allow it to dry for the appropriate amount of time. The surface is now ready for painting!