The Best Way To Get Rid Of Peeling Paint

peeling-paint-minIntroduction – Causes of peeling paint 

What causes paint to peel? Peeling happens when you paint over an area that has built up soap scum and water such as toilet or bathroom ceilings and walls. It also happens when you paint in high humidity conditions. This causes moisture to seep to the paint surface from the wall. 

Walls with peeling paint therefore become unsightly, and they become breeding grounds for different types of bacteria. If the wall is peeling in a common place such as the sitting room, the homeowner becomes embarrassed. That is why it is advisable to repaint a wall that is showing signs of peeling paint so that you can restore and make the wall attractive once more. 

Getting Rid of Peeling Paint 

The following tips will help you get rid of peeling paint and repaint the area for better results: 

1. Protect yourself and prepare your workspace – This is the initial stage of painting. Protecting yourself by wearing glasses, safety masks, and gloves is paramount. You should then make your workspace by placing a large piece of plastic near your working area whose work is to catch stray bits of paint. Another consideration is to tape off trim areas that are near your working space and remove any finishings such as furniture from the place. 

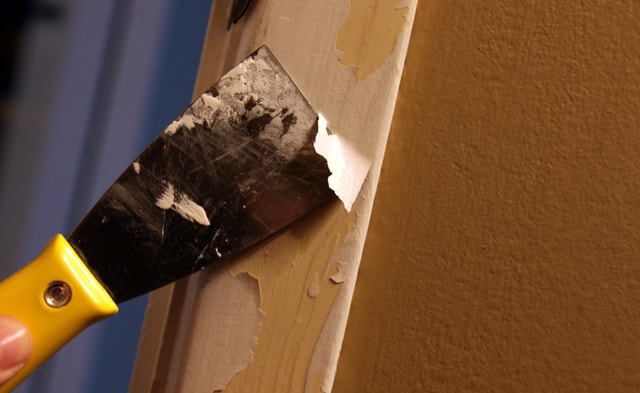
2. Remove the area with paint problems – You have to use a paint scraper or wire brush to remove all the loose paint from the affected areas. 

3. Make any necessary repairs – After removing the peeling paint, cracks or holes may be left. You should then fix them before repainting the area. You can do this by applying a patching compound by use of a putty knife. Then smooth the area and let it dry as instructed. 

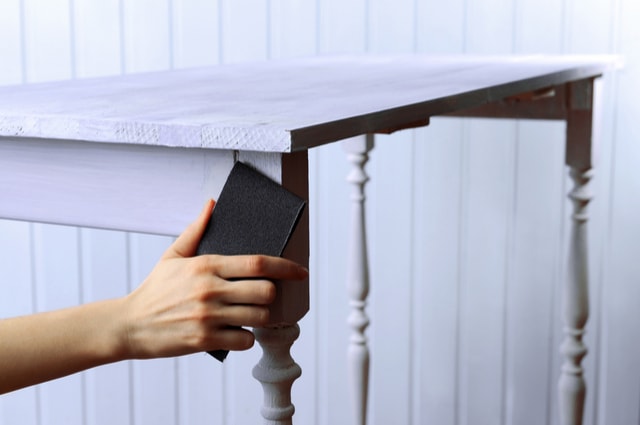
4. Prepare a smooth surface – You can do this by sanding the area to be fixed by use of fine-grit sandpaper with a motive of removing any lines or grooves. In this way, you will have a very smooth surface. 

5. Clean the area – The area to be painted should then be cleaned by using a lightly damp sponge or tack cloth. A thorough cleaning should be done by wiping the area to be painted, again with a clean rag and once more with a dry rag. After that, let the wall dry completely. 

6. Prime the walls – You are supposed to prime the walls if the cause of peeling the paint was moisture. Allow the area to dry after covering it with a primer. This is an essential stage because your new to be applied paint must be protected from the same moisture problem. 

7. Finally, do the painting – With a wall ready to be painted, you are supposed to look for the best paint colour. The first coat should be applied evenly and then let to dry. After that, apply the second coat and let it dry too. Clear everything from your site and wait for the best results. 

Conclusion 

With signs such as the paint surface having holes and spidery cracks, the paint on walls is bound to start peeling. Noticing such conditions at an early stage is critical to put the precautionary measures that have been explained above. In that way, you can avoid embarrassments.

An Overview of The Standard Paint Stripping Process

paint stripping

Standard Paint Stripping Process

Removal of paint can be an arduous task especially when hazardous fumes, corrosive chemicals, and substantial paint remains do not get off as expected. It is advisable to look for an expert when such kind of jobs come up. A high level of professionalism should be displayed when removing paint from brick surfaces.
Proper tools, in-depth knowledge, and specialized care can make a huge difference when it comes to such jobs. Paint as well needs to be removed from the surface of both the mortar and brick. One crucial aspect is to ensure the surface below is not damaged.

Painted brick surfaces can undergo continued spoilage in mortar joints. This takes place when there is moisture in between the brick, paint, and mortar. The outer part of a brick is more permeable, and therefore joints are prone to several stresses. Removal of paint becomes a difficult task to undertake without interfering with the outer part, of for example a brick chimney.

In most cases, many homeowners opt to do the work all alone rather than pay someone to do it for them. It is not advisable though, because the right tools, materials, and expertise are needed so as the job can be done correctly without any damages to humans.

Preparing the area of work

Paint removal can be effortless, cleaning up the remains can be very challenging though. Segments of paint should not spill over the floor or ground adjacent to your chimney or brick wall, a lot of plastic protection and groundsheet is needed to keep the paint drops and other debris in a central place that can be easy to clean.

A contractor doing the job should ensure that any areas that unpainted are quarantined and taped off. Before paint removal materials are applied, workers should do away with flaking or loose paint. The most used equipment is a scraper or a putty knife.

Application of Paint Remover

The best way to clear away paint from a brick chimney is by use of an adherent paint removing compound. The moment paint remover gets into contact with the brick; it immediately develops a chemical reaction which in turn forces the paint to produce its tight bond to the brick. This process does not damage the brick and mortar’s surface which is delicate.

The adherent paint removal sheets sheath the whole brick surface laying one over the other for about 24 hours. The materials are scaled off by use of a putty knife. A steel brush should be used whenever there are stubborn pieces in the brick.

Using Pressure to Wash

After most of the paint has is removed by hand, the dirt is safely disposed of. Use of a power washer can clean the surface of the brick hence no paint leftover. At some point, a nontoxic detergent can be applied. The surface should be left to dry for about three days after which disintegrated mortar joints, and spoiled bricks get fixed.

The Best Paint Stripping Tools On The Market

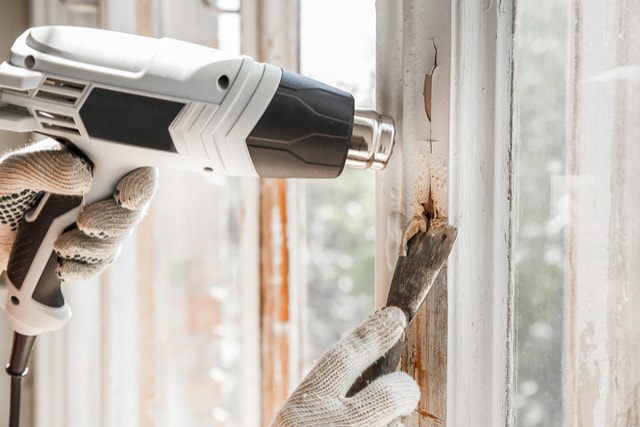
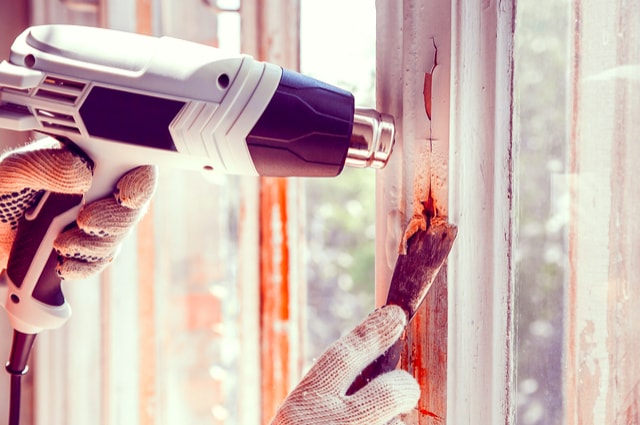
paint stripping toolsIf you are stripping paint on a house, you need to look for the best tools to make your job easier. Some work better compared to others, and their performance usually depends on the condition and type of paint you’re removing. Here are some of the best paint stripping tools on the market:
Tacklife Electric Paint Stripper Gun

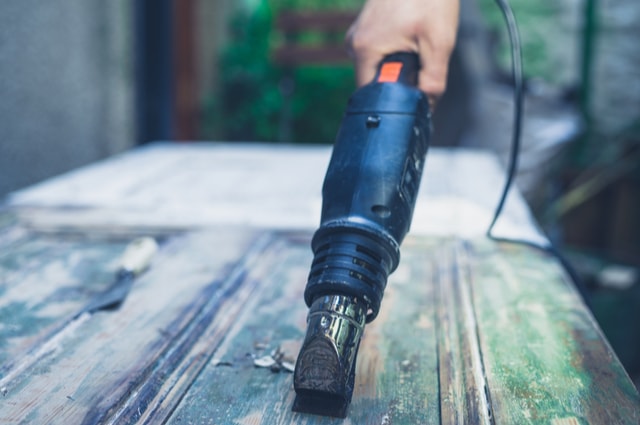
This tool is among the most versatile paint stripper guns you will find in the market. It offers numerous ways of getting your job done. It is great at the basics; it heats up to full temperature within 60 seconds and has a great airflow throughout. Also, it comes with three heat settings for coping with the toughest paints as well as the most delicate surfaces, plus a dedicated cooling mode. It offers 4 nozzle attachments, which includes an extension tube that makes it suited to most of the tasks such as paint stripping and softening caulk.

DeWalt 240 Volts Twin Settings Electric Paint Stripper

Generally, DeWalt are regarded as the crown princes when it comes to power tools. Hence, it stands to reason they would know how to create a great heat gun. Although it cannot be beaten when it comes to performance (it can melt anything), it takes the top position for its design as well. It is compact and light to avoid putting lots of pressure on your wrists over long stretches, and still made to last through many full-on jobs, and users love how it saw off jobs that are tough.

Speedheater

Typically, infrared paint removal might sound like something complex to the average homeowner, but in actual sense, it isn’t. In fact, the Speedheater is not slowed down by numerous layers of paint. You can even use it to strip thirteen layers of paint from an old window in just a single pass. The infrared heat makes the paint to lose the bond it has with the wood very fast.

Continue reading “The Best Paint Stripping Tools On The Market”

How To Prevent Sun Damage To Your Outdoor Wooden Furniture

wood-damage-sun-minOutdoor furniture for your backyard or patio is a great addition that looks elegant and is long-lasting. However, wood can be damaged by harsh weather conditions. Therefore, you should take care and prepare your furniture for weather conditions such as a lot of sunshine.

Fading and discoloration of materials such as wood are the downsides of the sunlight that we always yearn for. There are three sources of this damage in the light spectrum: visible light, UVA and UVB radiation, and heat radiation. People think that glass can block the damaging sunlight, but in the real sense, a clear glass window allows up to 70% of UV rays. Even the most expensive energy efficient windows only lessen this by about 10%.

If you want to protect your elegant furniture from the damages of the sun, it is vital to find means of keeping the UV rays at bay. How can you do this? Here is a comprehensive guide with top tips that will help to protect your wooden furniture from sun damage:

Seek Paint Stripping Service

Stripping involves getting rid of the old layers of varnish or paint. Two stripping procedures can be done outside. One is physical, and the other is chemical. Scraping can work on flat surfaces, but it requires a lot of effort and can deface such surfaces. Chemical products offer the easiest method of paint stripping. They are also the most effective method of stripping off old coats of paint and from any surface without destruction. Striping the old vulnerable coats can help in restoring new paint that can last longer without being damaged by the sun.

Use Varnish

Another method of protecting your wooden furniture is applying varnish. You can visit your local home store and choose the best vanish for your furniture. There are many options, and you should be sure to purchase an outdoor variety that is best for you case. Just like water sealers, this will help to maintain the look of your furniture, but will not protect it as much as paint. With varnish, always reapply a coat every few years to keep its strength.

Consider Placement

Where you place your furniture on your patio affects how much it can be damaged by the sun. If you have your wooden furniture on the edges of your patio, the sun will have easier access to it. During a particularly sunny and hot day, pull your outer-edge furniture to the centre of the patio to ensure they stay away from the harsh sun rays.

Use an umbrella

Most fabrics will eventually break down if you leave them in the sun for long enough, but there are special fabrics that are intended to resist the damage of UV rays. Fabric umbrellas do more than keeping you cool; they also keep the sun off your outdoor wooden furniture. If you have a simple table and chair set, make sure you use an umbrella for shade. Always remember to take it down when it gets windy so that it does not blow away.

Tips To Protect Your Wooden Furniture

There is nothing as frustrating as ruined furniture or old looking furniture. Though most furniture are built to last long and remain in a good state, they are prone to damage. Replacing furniture can be expensive and frustrating. However, with proper care, wood furniture can last a long time and still maintain the new look.

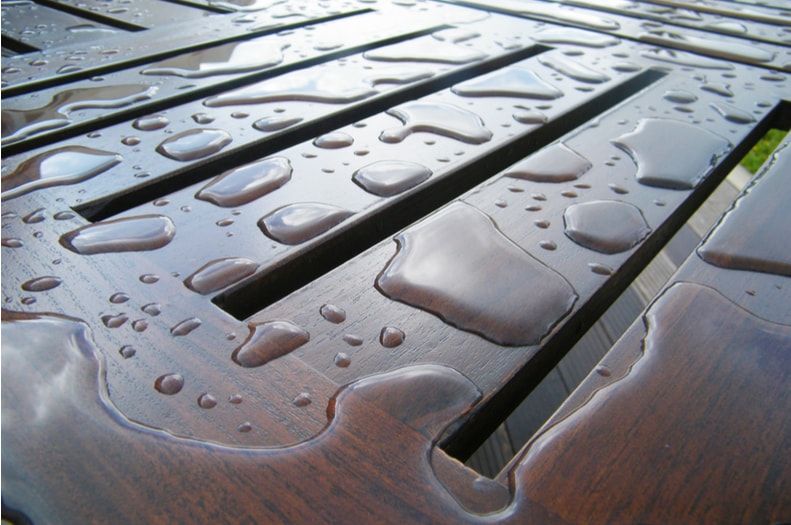
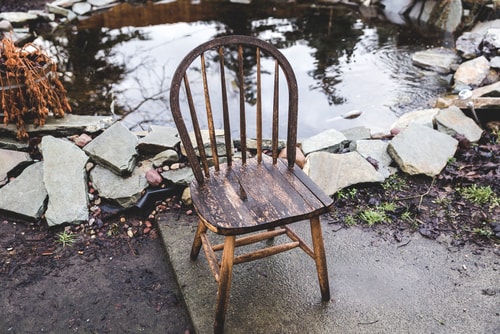
Wet wooden furniture

The following information will equip you with all the best tips to protect your wooden furniture.

  1. Know the conditions of where you reside

This is based on where the owner of the furniture is going to place the furniture. Furniture can be affected by different surroundings. Mostly avoid placing the furniture where there is direct sunlight. If unavoidable, use curtains especially blinds to regulate the sunlight. If you reside in a wet area, it’s advisable you get the water sealant. Water sealants can be used for outdoor furniture too. Also do not place your furniture near any heating or air conditioning as they destroy it as time proceeds.

2. Painting

Painting furniture is among the topmost ways of protecting your furniture. This is because paint reflects UV rays from the sun and keeps the wood beneath from rotting. Latex paint is the best preferred to oil-based paints because it lasts longer and takes less effort to apply. Any time you notice any chipping or fading, repaint the furniture. Remember the key important thing is to choose the right kind of paint and repaint often.

3. Furniture Paint Stripping

This is a process through which paint is removed from furniture, then dried and a finishing service is performed on it. First the furniture is dipped in a hot caustic soda which is a chemical, thereafter it is removed dried until the desired finish is realised. Depending on who offers this furniture paint stripping service, they might carry out any necessary repairs on the furniture. The finishing may be done using oil or wax depending on the choice of the customer. This whole process gives an almost new look.

4. Cover your furniture

There is a wide range of covers for your furniture, but patio furniture covers are the best because they can protect furniture from the weather and other harmful features. Although covers best protect outdoor furniture, you can also purchase some for the indoor furniture. When choosing these covers, ensure to pick the right sizes and shape according to your furniture.

5. Additional tips to expand the lifespan of your furniture

These tips include: dust the furniture often and avoid using a wet cloth, instead use a damp one, when placing hard items on the wooden furniture, remember to use padded feet under the item. Avoid placing bottles with liquids that can spill and ruin the outlook of your furniture, when moving, ensure that all the furniture is safely wrapped and moved carefully to prevent any damages.

Having a professional paint stripping is one of the best actions to take. In need of the best service, look no further, Premium Doors and Furniture provide the best furniture paint stripping services at affordable prices and the customer gets to make their own choices.

How To Keep Your Wooden Garden Furniture In The Best Shape

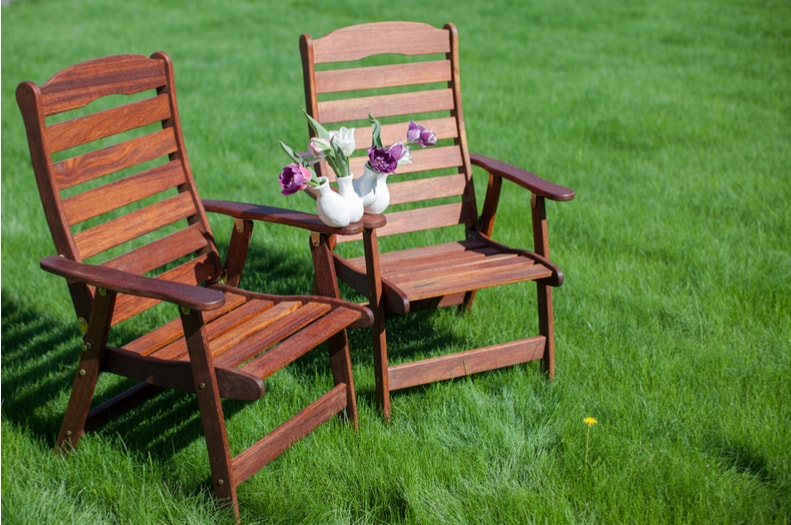
Mahogany Tables & Chairs

Hand crafted and bespoke wooden garden furniture is always made with; time honoured skills from high quality timbers that should be from an authorised renewable source. Such beautifully made wooden garden furniture will retain its unique characteristics for many years to come if given the care it deserves.

Roble

A recently introduced hardwood from the managed forests of Costa Rica, roble produces timbers with elegant, pale golden tones. The wood contains a high percentage of natural oils and tree resin which enables it to withstand extreme weather conditions throughout the year and requires very little maintenance. To keep it clean, use a weak solution of soapy water to sponge away any dirt and allow to dry before applying a light layer of linseed oil or wax specifically designed to care for roble wood.

Teak

Teak is often a popular choice for high quality garden furniture due to its strength and resilience in harsh or wet conditions and its resistance to decay and insect infestations. The timbers naturally breathe, expanding and retracting in response to the moisture in the air, occasionally causing tiny surface cracks to appear. These will notdamage the wood, but can encourage stains. Scrub clean with a soft, bristle brush and warm soapy water. Resist the temptation to use a wire brush as small fragments can become embedded in the cracks and will eventually rust. A fine sandpaper can be used to remove stubborn stains. Teak can be re-oiled or left to mellow naturally.

Cedar

Available in Western Red or Northern White varieties, cedar is an extremely durable hardwood, traditionally used for outdoor garden furniture. Its closely grained timbers are highly resistant to decay and attacks from insects. Cedar can be coated with wood stain or paint or left to acquire a natural, elegant sheen, although in shady conditions it can become stained. A very mild solution of soapy water and a little bleach will remove stains. For best results, apply a light coating of an ecologically sound oil enriched sealant ever two years.

Mahogany

The rich, reddish brown tones of mahogany add a beautiful elegance to garden furniture but needs protection from the extremes of wet conditions and direct sunlight. Clean with a soft cloth that has been dipped into a solution of vinegar and water, then wrung out until it is just damp. Mahogany benefits from an application of an environmentally friendly water or oil based sealant. When not in use, store in a damp free shed.

Acacia

When coated with a sealant, acacia will last for many years but is still best placed in storage during the winter months as excess moisture will cause the timbers to warp. Avoid the use of acacia garden furniture near swimming pools as it can be damaged by chlorine. Regularly remove stains and dirt with a soft brush and soapy water ensuring any residue is rinsed off well and then dry thoroughly with a cloth.